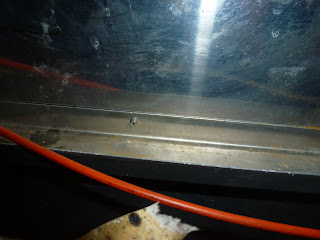
During a heavy rainstorm I started to count the leaks....I stopped counting at 28 separate leaks, it was just too depressing and the leaks were starting to flow as one. Both fan locations, the astrodome and the PO repair made to the refrigerator vent all poured water onto the floor. Three windows have bad leaks as does the fan over stove. Those I have covered in plastic and aluminum tape from the outside and I'll deal with them one at a time. Oh and two out of three of the access/baggage doors leaked. There really wasn't much that didn't leak!!!!! I had buckets everywhere.
 I am continuing to seal seams and individual rivets from the inside. It's raining right now and so far it's dry on the inside. It's messy work.... I completely covered my putty knife with masking tape and when I'm done for the day I peel it off! No messy residue to clean up.
 My arms are killing me from the caulking gun. I think I screamed a little this morning when I depressed the pump on my shampoo container!
I also stripped the paint off the door and all the flanges where the old gaskets were. There was lots of sealant and crumbling foam. The Citrastrip did a good job at removing all of it overnight.
 I put the new gaskets on with the black 3m adhesive. That stuff is stickier than a gecko's feet ! I stretched the gasket out on a table and clamped it down so it wouldn't twist, took off the self-stick liner and painted on a strip of this stuff. Did the same thing to the door, waited a minute for them to get tacky and carefully pressed it in place. I really could have used a second set of hands but I got it done.
I used the new medium "D" seal on the door within the door and it was perfect. I did not use it on the door like VTS recommends. I found their Gasket seal for the overlay doors for the earlier trailers to work better. Maybe my 63 Overlander is different? It's a tight fit but I can close it and it,s getting easier every time!

I did have to move the gasket out to the edge near the door latch because it was too tight a fit but other than that all went well and so far is leak free. Yippee
Then I followed the forums advice and sprayed all the gaskets in silicone so they wouldn't stick.... and it left a white streaky residue on the gasket. Grrrr.
I also completely sanded the floor with 80 grit and will be fairing with the West system epoxy, filling all holes and sealing all the seams, hopefully later this week as the weather warms up.
In the meantime I have a couple of questions.....
I initially thought that one of the panels had been replaced. It was an area right below a broken window, but what I thought were Olympic rivets aren't. They look like a buck rivet with a hollow stem.
So what are they? Are they original or a repair.... and more importantly should I drill them out and buck new rivets?? They are all along the bottom of the window, the ribs on one side and on the stringer. And they leak, of course.
And speaking of the horizontal stringers, what metal are they fabricated from?
 All the time I was working, I had a faithful companion hanging out with me.I think he likes to look at his reflection in the shiny belly pan! LOL


