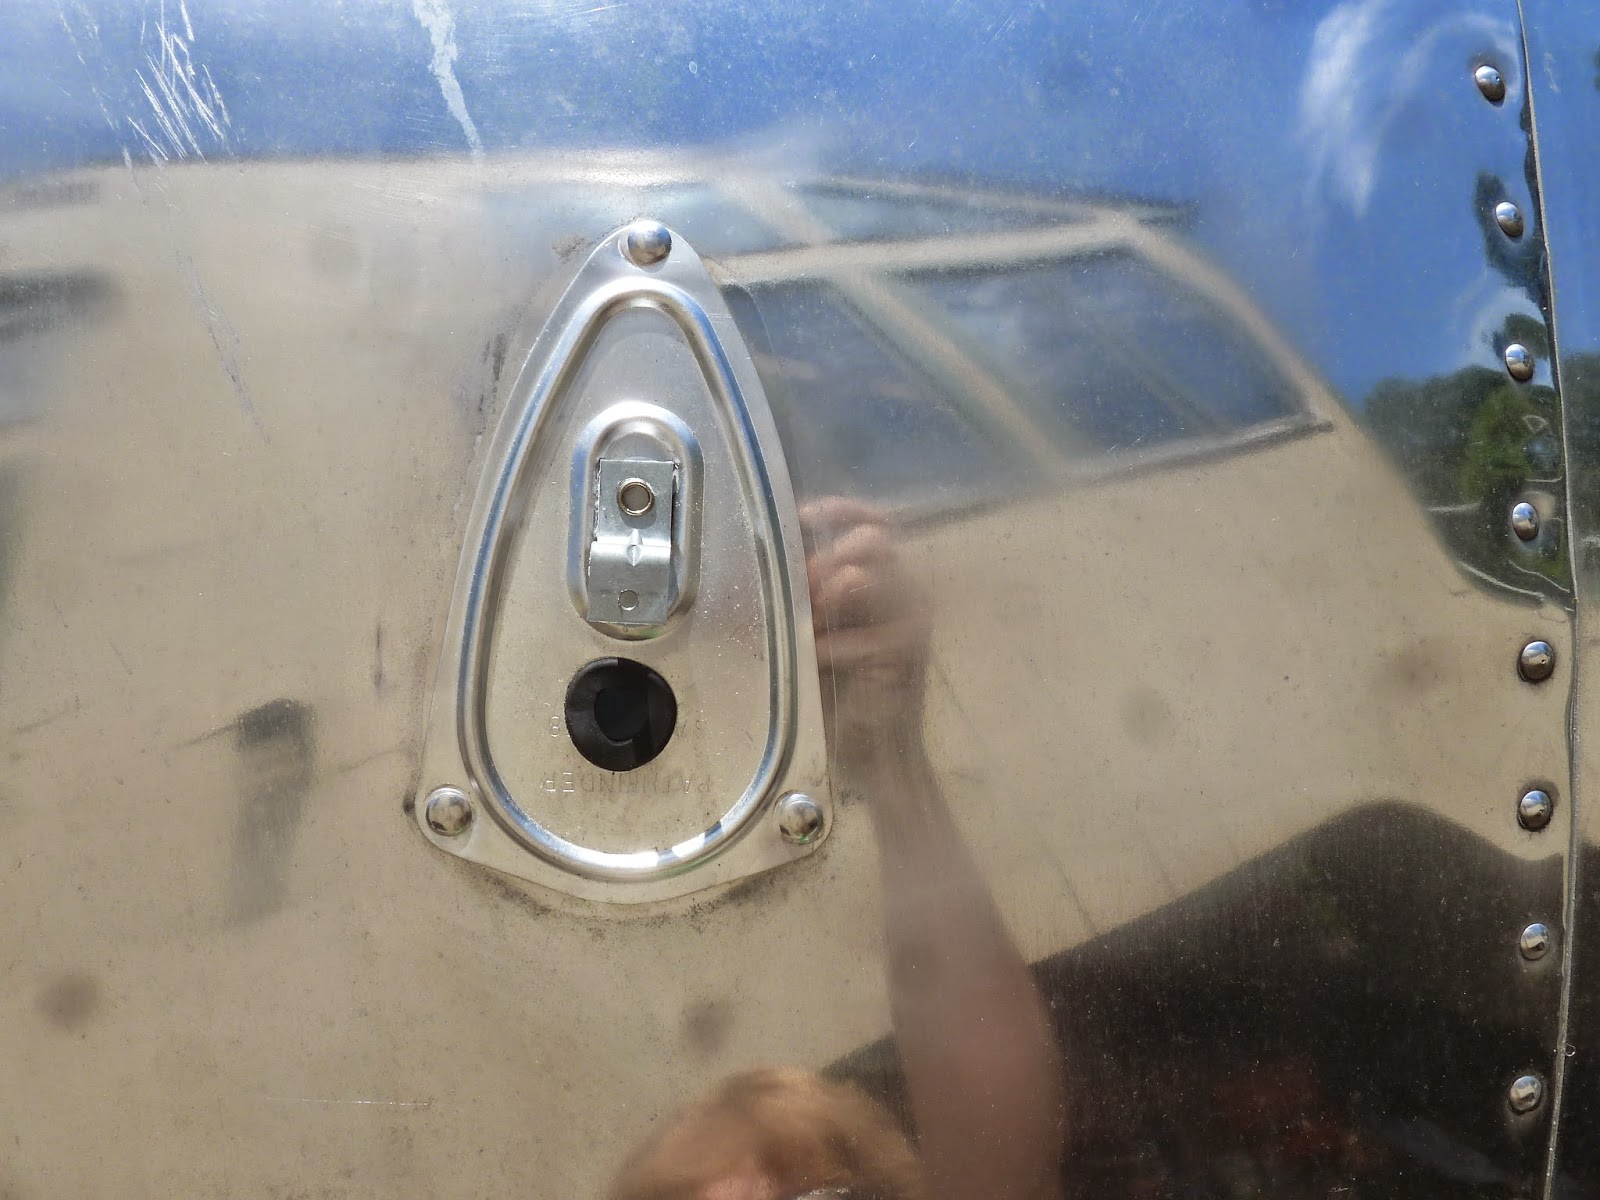
New badges, lights and plates:
It's an automotive paint that got "cured" in the oven at 200 degrees for an hour, we'll see if it ends up being durable or not. I did clearcoat it after it was cured. Of course, I waited to use the oven until my husband was away on a business trip. Don't judge.
LED lights - They have all been switched out and rewired with closed sealed LED's much like Reggiemon did on this post. No more worrying about corrosion at the bulb. And being sealed LED's, I'm not going to have to seal the teardrop lights at all. I want water to flow thru, not get trapped behind the light.
 What about the wiring hole you say?? Well, that actually worked out really great, I drilled a new hole in the VTS base plate with a step drill and used a grommet that goes on that hole AND the hole on the trailer.
We've had some really awful rain storms and they don't leak at all. I will seal the wires with a glob of Eternabond doublestick tape anyway.
Drilling the hole - You need to have wood underneath because the metal is extremely soft.
By the way, it won't come as a surprise to you that every hole was in a different spot. That meant clecoing a teardrop fixture in place, going in the trailer and tracing the hole, every one by ever luvin' one. And then labeling them so I knew what goes where.
A new roof refrigerator vent:
I must say, my hole is a lot less ragged than the one cut by the factory, I used a Harbor Freight hand nibbler.
I used butyl tape to seat the vent and riveted it in place with closed end pop rivets and covered it with Sikaflex221.
I used closed end pop rivets on this vent cover too. The vent is aluminum but needed to be cut down as it was too large. I used these instructions.
By the way, this cover was clearcoated with some uber strong
Only had one moment of high anxiety when I picked up the vent cover to put it up on the roof and realized that I had never test fit it! It would have been really bad if the vent had ended up being even a smidgen longer. As it was, it fit exactly on the 2 foot length of the patch. I have no clue why I never considered this!!!! Some fancy planning of where the rivets could go so they don't land on top of the patch rivets and a near disaster was averted....
CG Antenna:
Installed a new CB radio antenna, I'm planning on putting a mobile CB unit in that can be shared with the truck. Of course the only thing I know about CB's I learned from Smokey and the Bandit! "Snowman, what's your 20?" I don't even have a clue what kind of cable/wire to attach to this antenna!!! I need to figure that out before I put my skins in.
A Jalousie window makeover. Hand polished frames, new seals , retainer discs, mouse fur.....etc. Honestly this took the better part of a week!
My sill was completely corroded. This is not dirt, its corrosion!
So I broke out this bad boy and chucked it in my drill, its a 3m maroon scotch brite sanding disc. These frames are all aluminum so I could get pretty aggressive.
Not perfect but much much better!
While the window was time consuming and tedious, the only difficulty I had was inserting the strips of fur on either side of the window. I had just sat down with a pair of scissors thinking that I would have to trim it when I realized the the fur is directional, the fur has to point down if that makes any sense otherwise you can't slip it up from the bottom and past the window panes. Its a very tight fit, but that's good! It means it will be leak free right? Yeah right. I also found one of my more pesky leaks, I thought it was coming from the door seal but it turnd out that it was where all the water from the eyebrow dumps on the window gutter. The area under the gutter was just funneling it into the trailer. Patooey on this design!!!
Fan:
I replaced the fan motor and cleaned up and painted the fan cover. Unfortunately, the springs that hold the cover open outside are broken, I tried finding new ones but am not having any luck, Anyone have a source?
This is the broken spring. The knob next to it was an trigger for the fan to turn on. I think for now I'm going plug all the holes and rig a way for the door to prop open when I use the stove.
What else? Does wrestling with jurassic weeds count? Look at the size of the root on this monster! I know the picture doesn't give it perspective but it was easily 4 feet long!
Or saving little baby birds? This little guy hit my trailer and I'm proud to say, I scooped him up first and placed him in a safe place before Finn could get at him. THEN I checked for damage to my trailer!!! While I was contemplating how I was going to manage feeding him every four hours into my schedule, he recovered and flew off. Phew!
There's more to come...... trailer related stuff that is...


