Sunday, September 21, 2014

Endcap redux

A major milestone is looming ( ie getting the skins back in) so  it is time to work on the endcaps as they are the first pieces to go in.

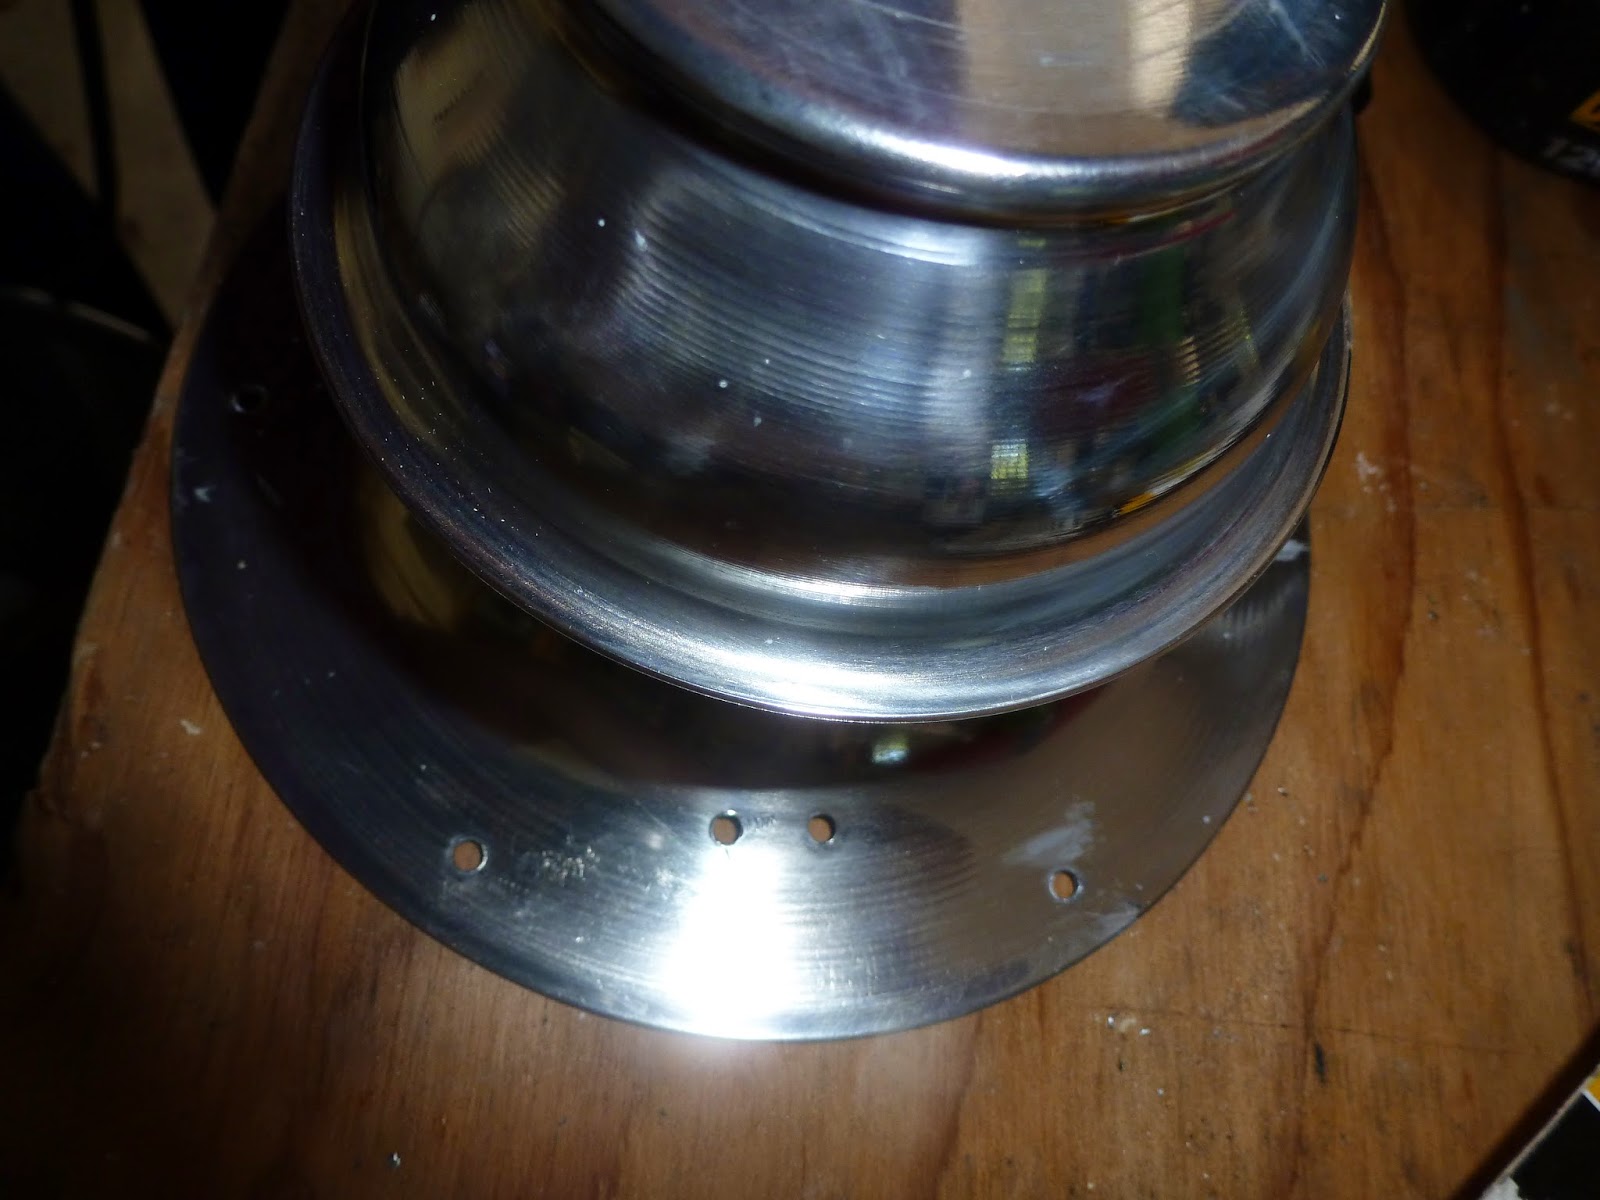
The biggest change is that I despised the molded shelf in the front.  To me it looks clunky and way too modern.  And since the current plan is having  wood end caps it had to go!  By the way, all that speckling in the photo is not zolatone, its mold and crud and schmegglies.

No, I did not make that word up! According to the urban dictionary its a piece of dirt, grime, or grotesqueness that appears on a object or often ones self. I like to use it as a term of endearment, but do that at your own risk!


Usually I start with hand tools,  and progress up the chain of evolution for tools.  I like the control I get from hand tools.  I started with a coping saw but it didn't fit next to the curved shell,  I moved on to a flexible hand saw but the fiberglass was chewing up blades and spitting them out....Should I now confess that I actually first started with a exacto knife ?  I was clueless to the relative hardness of old school fiberglass!


Okay, onto power tools, my dremel with the right angle attachment and this bit did an okay job but didn't really have enough power and the bit was bogging down.  By this time, my lawn had tools and blades scattered all over it and I was 3 hours into a job that I thought would be 30 minutes top!  AND I was maybe only a third of the way done . :(


Out came the big boy,  my rotozip.  Another trip to the hardware for a new bit (I think this was my third trip for blades of various types!)   Honestly, I think I cut the rest of the shelf off in under 5 minutes! Obviously the right tool for the job, huh.... I used the regular bit for wood and plastic.

A little trimming with a grinder stone on the dremel and DONE! If I get the time I may patch this up and smooth it over.  Or I may just leave it ugly and consider it my motivation to do the wood end cap!

Then I cleaned and sealed both endcap backs with West system Epoxy, just like the floors.  Unfortunately, no amount of scrubbing was going to get these clean.  I'm happy I took the time to do this because they no longer have that peculiar pungent pee smell.  Go ahead say that ten times fast I dare ya!

Then onto the fronts, despite my fears they'd dissolve into a pile of goo,  I used Citrastrip to get the paint off.   Lots and lots of plastic razorblades later....


 This angry little fellow watched me the whole day....What am I? Squirrel television? Gheesh. It's funny he happily coexists with the large garter snake that lives under my front doorstep.  They even use the same tunnels! 


Tuesday, September 16, 2014

Who goes here?

I found something really exciting when I was cleaning up the interior wheel wells.  Someone had written something on the fiberglass.  I've seen other peoples posts about  uncovering cool notes and signatures inside the walls of their Airstreams.  At one point, I considered taking apart my door because it is often signed by one of the workers....then I came to my senses!

Anyway, I thought how cool!  I finally have something!  The trouble was I couldn't read it as they signed the backside of the wheel well and plated over it with a piece of aluminum ,so it was a very faded mirror image I was seeing from underneath .  Nothing would do except taking it all apart!!!!  So I did!  Once I wiped all the grime off I could finally see what it said....wait for it...


 Can you see it?   Come a little closer....


Now?      It says "REJECT"   Well, that sucks....just saying....

The search for evidence of her builders continues.  I need to think about how to leave my mark for future owners ....


Thursday, September 11, 2014

Other little stuff

I polished and added two vents to the roof, I think they are quite jaunty and,  unlike the originals, these are aluminum, so no rust!  I used Eternabond double stick tape as a sealant leaving a gap at the bottom.  I also drilled two little holes at the bottom so if any water does builds up it will drain out before it reaches the vent stack.  I would have preferred to buck rivet these but as they will likely come out in the future I went with # 8 stainless screws for now.


I added the Marinco outlet. By the way, I used a rubber gasket that I cut last year turned out it was already cracking so I found this at the local Orange Box store, closed foam seal, fit perfectly, even the screw hole punched in the foam lined up!   They also fit perfectly under the wedding cake tail lights.  I'll re-purpose the metal plate that came with them.
-

Also added the scare light.  This area of the trailer has the most corrosion and I thought about adding a custom patch but in the end I left well enough alone.  I had a problem with the bottom hole being stripped out so I bought a piece of aluminum stock bar at the Orange box store, drilled a new hole and installed it as a backer to the bad hole with Tempro 635.  The scare light itself I bedded in butyl tape and followed up with a seal of Tempro 635.  I already installed the LED light upgrade. 


I also got the gaps underneath sealed up and polished the new rubrails from VTS.  They are going to add a lot of bling to the trailer!  The old ones were mangled, I probably could have fixed them up but took the easy way out.  I haven't installed them yet.  I don't find it very amusing that right when I get my trailer leak free (said with pinkies crossed) I've got to drill a bunch more holes into the skin!


I also got all my window hardware cleaned up and reinstalled.  I painted them with Rustoleum Hammerite smooth aluminum paint #42205 .  They came out SWEET!

Before and after


This paint is really cool and durable.  Its hard to find though and I had to resort to buying it online.   I've also discovered its a perfect  match for POR's sterling silver paint that I did the hitch in..  Great for touch ups!

No leaks again in the trailer DESPITE torrential downpours and a tornado warning.  Yep, tornado.  Turns out we didn't have an actual tornado but two streets over there was a micro burst with winds of 110 mph an hour.  Took down lots of trees and our power.   I was more concerned about the hail warning,  which never materialized.  In the middle of the tornado warning,  I'm down in the basement eyeing the leftover roll of Prodex and wondering if I could rig a temporary cover LOL!  Or throw myself over those endcaps if need be! 


Tuesday, September 2, 2014

Today was a red letter day!


 A couple of days ago my son and I did some Hillbilly leak testing.   Basically, I put him in Moonraker with a shop vacuum hooked up to blow instead of vacuum.  I sprayed the outside areas that I suspected with soap and water and sure enough, we had bubbles. 


I recently sealed the two long seams on the roof, as well as hitting every rivet on the endcaps with Captain Tolleys.   The worst area was around the jalousie window.  I've been fighting this leak by my door for a while.   I dug out the new Tremco, and filled it with Acryl -R.  It wicked in and appeared to work because today we had a huge rainstorm and I had this.


Okay, the rain sounds more like static but.......A LEAK FREE trailer!!!!!!   For the first time since I've owned her.   

AND that's not all.......   I also cut my last piece of insulation today :)   
It was epic..... in Lord of the Rings "Thou Shall Not Pass" kind of way. LOL