Thursday, January 8, 2015

Catch up time!

Okay, the solar pre-wire is in, we unjacketed the 6 AWG wire and put it in two separate holes, running it from the refrigerator vent to the front end cap and down. 

The air conditioner drain will be a pex line with sharkbite connectors to make the turns, no it isn't done yet, stop snickering.  The holidays were busy and I have the supplies, I just kinda lost them.  I refuse to buy those super expensive sharkbite connectors again,  so until they surface that project is stalled.    Its currently -7 degrees outside, with a windchill of close to -25 degrees. Its difficult to even think about air conditioning!

In the meantime I thought I'd catch up on other things:

The two LED wedding cake lights in the back had grounds that I pop riveted to the ribs.  I've re-thought that (like nearly every other project I've done so far!) .  They are buried in the walls , never to be seen again, so I've reattached them with stainless #8 panhead screws with lock nuts.  I even hit them with a bit of Locktite and I'm fairly certainly they won't budge for the next millennium.  If they do the ground wires are long enough to pull to the outside of the shell and figure out some sort of outside screw.


My insulation is complete, but there will be a few adjustments as I put panels in.  the insulation was far more time consuming than I thought,   especially when you have a helper (not!) like this!  

I have covered all the ribs with 1/32 inch foam tape.  This has already made a huge difference.  I can touch the ribs where the tape is and it's not cold, the rest of the rib is freezing.  I've also noticed when the snow starts to melt, usually where the ribs melts first, leaving this telltale crosshatching, that no longer happens!  Is it going to mean a warmer trailer?  Who knows... but it was easy and inexpensive.  Plus it's a doublesided tape so I can not only rivet my interior panels in but they will be secured by the tape too!

This is the stuff I used.  http://www.findtape.com/product153/Scapa-SR532V-Double-Coated-1-32-Foam-Tape.aspx?idx=0&tid=0.   In case the link doesn't work for you, it is Scapa SR532V Double coated 1/32" x3/4"x 72 yards in white.  It sells for $16.75 per roll.  That's less than 34 dollars to insulate all the ribs!  
 A shout out to  Capn Tom on Airforums,  whom I got the idea from and who kindly sent me his excess tape!   It took two rolls to do the Overlander. The only issue I had with using it was that it makes it really hard to find the rivet holes.  After applying the tape, I used a bamboo skewer to punch them all out and then marked the holes with a black sharpie so i could match up the holes to the endcap/interior panels holes easier. 

Which leads me to THE BIG NEWS..... which is the endcaps are in!   I was really dreading them due to the experience of helping my sister put theirs in .  Story found  here, as I remember,  it took 5 hours to get one end cap in.   But I didn't have the same problems with ours, maybe because I had stripped all the paint off and the fiberglass endcap was surprisingly flexible?  The back one went in in literally 15 minutes and I honestly think I could have done it alone!!  The front one took a little longer

But I've jumped ahead in my ADD sort of way.  There was alot of work in prepping the endcaps. I've posted previously about how I cut out the shelf in the front endcap.  But I also had to do some cutting out and re-fiberglassing of the rear end cap  There was this odd shelf protrusion that the light came off of that interfered with the clean curves of the end cap.

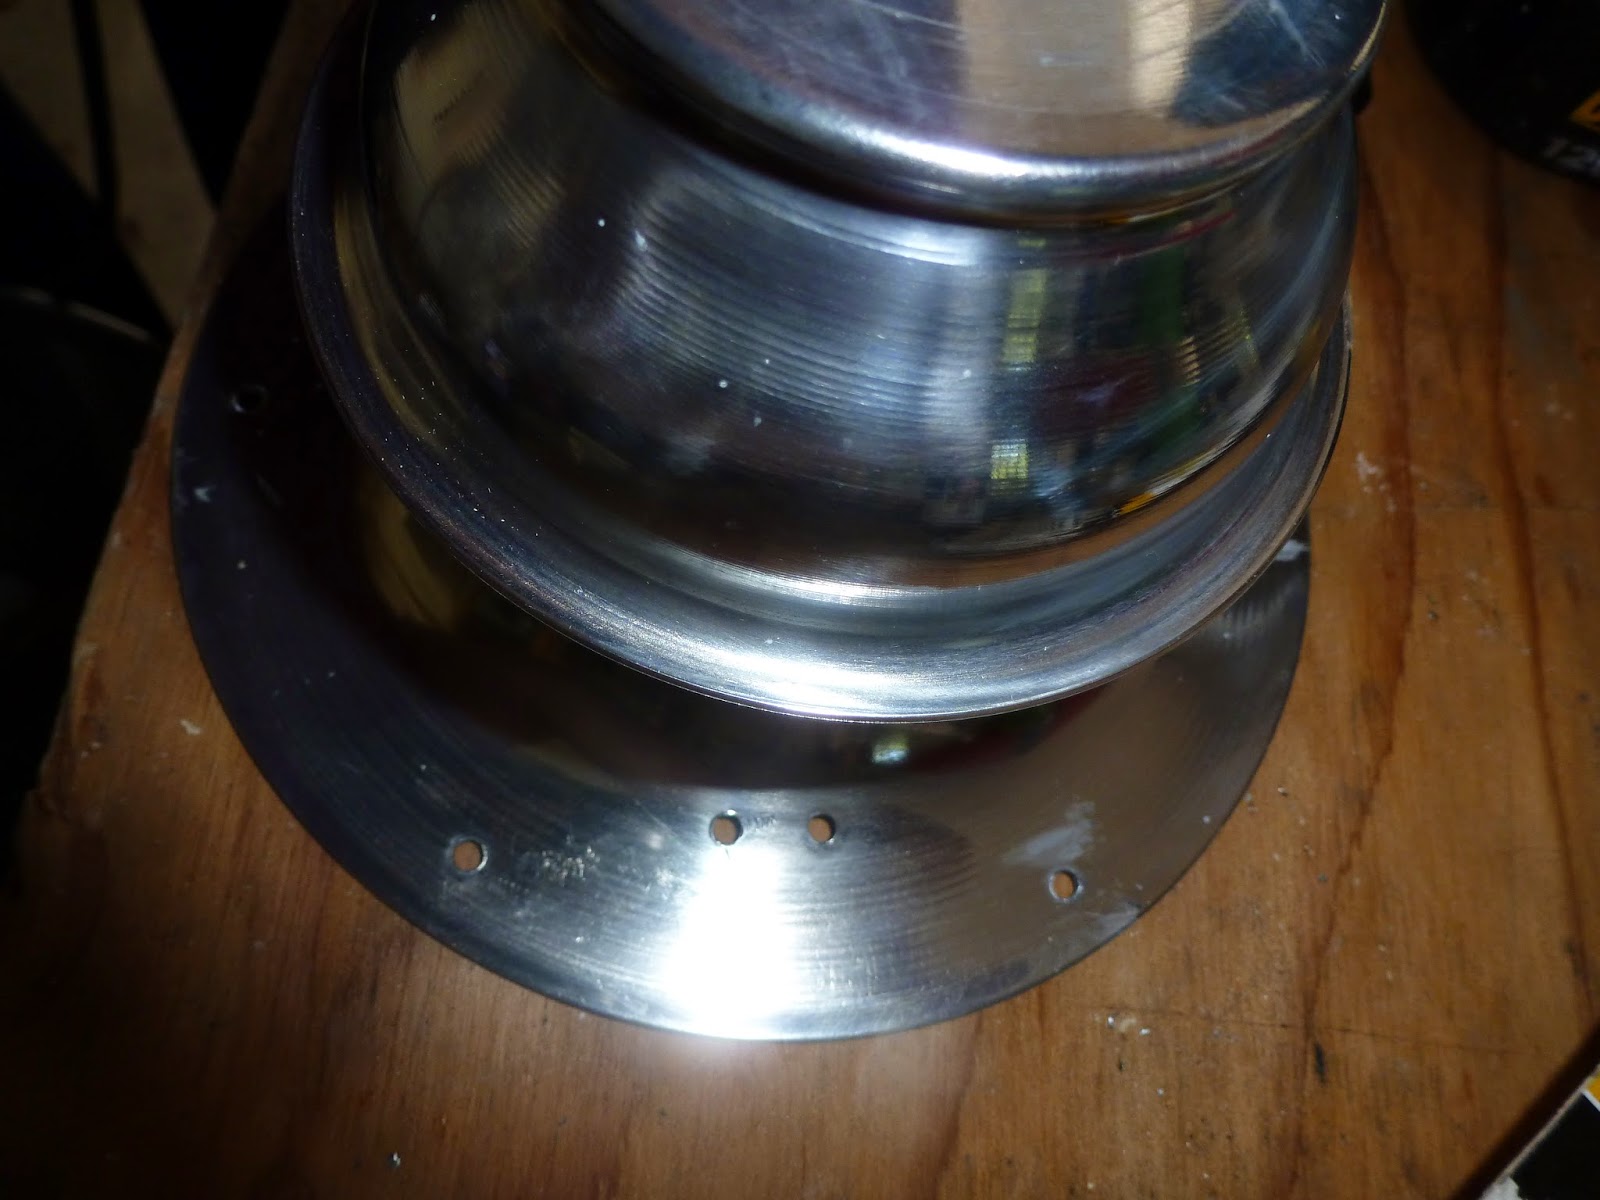
This is the piece I cut out of the back end cap.
 I used a drill to drill holes in then four corners, then a jigsaw to cut the area out.
 I put a piece of heavy plastic (so the West System wouldn't stick) then a piece of prodex taped in place behind it.  I braced the whole area from behind with a piece of 4 inch thick foam and a 2x4 to get as close to the contour of the original shell as I could.
I then patched it with two layers of fiberglass and the West System fast cure a couple of hours apart. .  I then washed it down with water and sanded it to remove the amine blush.  I added another layer of epoxy mixed with the microlite filler beads when the fiberglass had finished curing.

The completed patch... after lots of sanding.  I can't believe I was doing this in my house the week before Christmas!.... but it was too cold outside for the expoxy to properly cure.

 In place!

I doubt once its painted anyone would know that this is a patch.  I keep waffling about the finish of this rear end cap.  Originally I wanted to do it in copper,  but it turns out that that would be about $4,000 in materials alone.  Reality check! LOL  

The truth is that I have this special talent for falling in love with expensive things, a gift for it really!.  If you ever need someone to come with you to a store to choose the most expensive item, without looking at price tags, I'm your girl!   Strangely enough,  I have yet to find a use for this hidden gem of a talent....I did however pass the talent along to my daughter.  LOL 

Any hoo, I'll come up with some way to mimic copper, or I'll woodie it like I'm going to do in the front.

Also, for those who are wondering, this is how much Prodex I have left of two rolls after completing two full layers , I also cut 1 layer of insulation for all the windows to use in extreme cold boondocking that just will pressure fit into all the windows.

I also chose to insulate directly to the back of the end caps.  There was already a layer of foam strips followed by Prodex, followed by more foam board strips on the shell itself..... so this makes two full layers of Prodex with foam strips to hold the insulation away from the shell and between the layers.   


That's all for now, the plan is to try and get the interior skins in this winter/spring....we"ll see how that goes! Stay warm people!

Wednesday, January 7, 2015

The devil in the details....

Okay, so I have a two final details that need to take place before my skins go in.  Our electrician was here last night and gave us the go ahead to proceed! So we are almost ready to cover it all up except for.....

Solar
We are prewiring for solar with #6AWG.  The plan is for at least 200 watts in flex panels from AM Solar (assuming the tests Lewster is doing pan out)  I know most people go thru the refrigerator vent, but then many people have their batteries in close proximity.  My batteries on the other hand are up front under the window.  This would require going through three ribs (mostly above the door with frankly HONKIN' big holes.  I'm not even sure there is room to grommet after they are drilled because the flange on the rib gets in the way. I suppose I could "unjacket" the wire?    I'm nervous about doing these holes in this area as alot of these ribs in the sixties trailers don't go all the way from one side to the other.  I did brace the ribs to the stringers but its an inherently weak point in the structure.   Here's the area in question

Alternatively, I could put the wire somewhere near the front astrodome (that would mean drilling through one rib) and running the wire down the endcap.  This would require putting a combiner box on the roof and drilling a hole thru the roof :(  which makes me hyperventilate.

I'm thinking the second option is a little better but could be persuaded differently.


Air conditioner drain

 In the unlikely event  we ever put an air conditioner on the roof, I'm putting in a drain line just in case.  Somewhere on the forum I read it should be 1/2 inch inner diameter.  That is a really big hose!  If I place it street side leading down to the wheel well if has to go through one rib and 4 stringers.  I wish I could draw on these pictures but I don't have a way to do that!!   Basically it would be through the stringer at the back of where the fantastic fan now, and then down through the stringers like the black pipe (the water tank vent).

Is it really necessary for it to be this big? Can I use a smaller tube and adapt it somehow to the tube at the air conditioner? 

All this work for something that will probably never happen!  Unless we move to Texas.....and I break my leg and am stuck in the trailer with a cast on.... and the planned air conditioner never works out..... yeah, get the picture? 

So any suggestions?   Other than to stop overthinking things and just get the interior skins in!!!!!

Thursday, October 16, 2014

Bug it!

This is a leak free workplace.  It has proudly been ZERO days since the last incident!

Yep, well ...yeah, another leak, sigh.  A couple weeks back I sealed one long roof seam with Acryl R and the other long roof seam with Tempro 635.  Just doing my best for you all in the name of research.... The plan was to check them in the spring to see which held up better.

Well the Acryl R seam was leaking in at least two areas.... and winter is coming (said in my very best Game of Thrones imitation).   So I got up on the roof, removed the Acryl R and used Trempro 635.  It rained last night and I was worried about whether it had cured.  So I grabbed my camera and when I looked at the roof seam I see this.  Ignore the morning dew, concentrate on the seam, this was about 6 inches of it.

Every mother-loving black fly left in the Northeast committed suicide on my roof seam.   LITERALLY hundreds.  It was like 40 degrees, there shouldn't have been ANY black flies with 100 miles of my roof!

Well they better "wear off" cause I'm not doing it again. Just saying.

Update, well it POURED 2 inches today, think I got this licked, the only thing that leaked was where the wind blew it in the refrigerator roof vent.  Might have to think of someway to put a waterproof pan under the frig.

PS  Yes, I checked, the bugs are still there :(

Monday, October 13, 2014

A Eureka moment!!

As in ....we have light!   There probably are other things I should write about first, but tonight was very exciting!  Peter finally wired the last light (the license plate light)  and we have LIGHTS! YIPPEE!

Proof by picture...


As in all great epiphanies,there was a lot of work that led up to this moment.  Here's Peter wiring in the last light,  surrounded by a summers worth of insulation work, rib taping and electrical.   And then there was the reworking of all the lights to make them LED, and installing them!
 The batteries are going in the front of the trailer, so this is going to be my 12 volt Power central!  The seven way wires come into a junction box.  I know the truck would be fused but does anyone also add fuses to the junction box to protect the truck?

All the teardrop grounds are accessed from outside the trailer.  The Stop/tail/turns are grounded to the inside ribs.  If need be, I left enough wire so that they could get pulled and an outside ground added if there are issues.

We still don't have a truck (waiting on seeing the new aluminum Ford trucks) so we used one of these to test it
And following the instructions on this youtube video on how to test the Bargman plug,  I'm sure some of you are snickering about needing instructions...YOU BE QUIET!
https://www.youtube.com/watch?v=G-VYf5MltgI

Anyway, I'm as happy as a bird with a french fry!

On a side note, I found a new product that's really kinda cool,   If you notice in the picture of the lights, my license plate light is installed way off to the left on a curved side section of metal.  This is because I still intend to put the tire in a continental kit on the back bumper.   But I needed a gasket that was bigger on one side than the other, and narrower in the center.  Yes,  I probably could have built up some buytl tape but I was looking for something a little more elegant.    What I found was a moldable gasket material called Versimold.

This stuff is cool!   This is the gap before I had a gasket.


Basically you mold it, shape it, then cure it in the oven (or with a heat gun) and it becomes a custom gasket. 

The first time I tried to remove it from the light to cure it..... but it got stretched out and didn't fit nicely enough.  The second time I left it on the light and put the whole thing in the oven with much better results. Sweet!   Best of all I gave it the hose test and no leaks!
.
This light is grounded by the screws.  But I did manage to find an LED bulb that fits.  LED's don't like water but this is sealed in the little glass cylinder so hopefully it will be okay.  I used  this one.

That's all for now!  I love my lights 


Sunday, September 21, 2014

Endcap redux

A major milestone is looming ( ie getting the skins back in) so  it is time to work on the endcaps as they are the first pieces to go in.

The biggest change is that I despised the molded shelf in the front.  To me it looks clunky and way too modern.  And since the current plan is having  wood end caps it had to go!  By the way, all that speckling in the photo is not zolatone, its mold and crud and schmegglies.

No, I did not make that word up! According to the urban dictionary its a piece of dirt, grime, or grotesqueness that appears on a object or often ones self. I like to use it as a term of endearment, but do that at your own risk!


Usually I start with hand tools,  and progress up the chain of evolution for tools.  I like the control I get from hand tools.  I started with a coping saw but it didn't fit next to the curved shell,  I moved on to a flexible hand saw but the fiberglass was chewing up blades and spitting them out....Should I now confess that I actually first started with a exacto knife ?  I was clueless to the relative hardness of old school fiberglass!


Okay, onto power tools, my dremel with the right angle attachment and this bit did an okay job but didn't really have enough power and the bit was bogging down.  By this time, my lawn had tools and blades scattered all over it and I was 3 hours into a job that I thought would be 30 minutes top!  AND I was maybe only a third of the way done . :(


Out came the big boy,  my rotozip.  Another trip to the hardware for a new bit (I think this was my third trip for blades of various types!)   Honestly, I think I cut the rest of the shelf off in under 5 minutes! Obviously the right tool for the job, huh.... I used the regular bit for wood and plastic.

A little trimming with a grinder stone on the dremel and DONE! If I get the time I may patch this up and smooth it over.  Or I may just leave it ugly and consider it my motivation to do the wood end cap!

Then I cleaned and sealed both endcap backs with West system Epoxy, just like the floors.  Unfortunately, no amount of scrubbing was going to get these clean.  I'm happy I took the time to do this because they no longer have that peculiar pungent pee smell.  Go ahead say that ten times fast I dare ya!

Then onto the fronts, despite my fears they'd dissolve into a pile of goo,  I used Citrastrip to get the paint off.   Lots and lots of plastic razorblades later....


 This angry little fellow watched me the whole day....What am I? Squirrel television? Gheesh. It's funny he happily coexists with the large garter snake that lives under my front doorstep.  They even use the same tunnels! 


Tuesday, September 16, 2014

Who goes here?

I found something really exciting when I was cleaning up the interior wheel wells.  Someone had written something on the fiberglass.  I've seen other peoples posts about  uncovering cool notes and signatures inside the walls of their Airstreams.  At one point, I considered taking apart my door because it is often signed by one of the workers....then I came to my senses!

Anyway, I thought how cool!  I finally have something!  The trouble was I couldn't read it as they signed the backside of the wheel well and plated over it with a piece of aluminum ,so it was a very faded mirror image I was seeing from underneath .  Nothing would do except taking it all apart!!!!  So I did!  Once I wiped all the grime off I could finally see what it said....wait for it...


 Can you see it?   Come a little closer....


Now?      It says "REJECT"   Well, that sucks....just saying....

The search for evidence of her builders continues.  I need to think about how to leave my mark for future owners ....


Thursday, September 11, 2014

Other little stuff

I polished and added two vents to the roof, I think they are quite jaunty and,  unlike the originals, these are aluminum, so no rust!  I used Eternabond double stick tape as a sealant leaving a gap at the bottom.  I also drilled two little holes at the bottom so if any water does builds up it will drain out before it reaches the vent stack.  I would have preferred to buck rivet these but as they will likely come out in the future I went with # 8 stainless screws for now.


I added the Marinco outlet. By the way, I used a rubber gasket that I cut last year turned out it was already cracking so I found this at the local Orange Box store, closed foam seal, fit perfectly, even the screw hole punched in the foam lined up!   They also fit perfectly under the wedding cake tail lights.  I'll re-purpose the metal plate that came with them.
-

Also added the scare light.  This area of the trailer has the most corrosion and I thought about adding a custom patch but in the end I left well enough alone.  I had a problem with the bottom hole being stripped out so I bought a piece of aluminum stock bar at the Orange box store, drilled a new hole and installed it as a backer to the bad hole with Tempro 635.  The scare light itself I bedded in butyl tape and followed up with a seal of Tempro 635.  I already installed the LED light upgrade. 


I also got the gaps underneath sealed up and polished the new rubrails from VTS.  They are going to add a lot of bling to the trailer!  The old ones were mangled, I probably could have fixed them up but took the easy way out.  I haven't installed them yet.  I don't find it very amusing that right when I get my trailer leak free (said with pinkies crossed) I've got to drill a bunch more holes into the skin!


I also got all my window hardware cleaned up and reinstalled.  I painted them with Rustoleum Hammerite smooth aluminum paint #42205 .  They came out SWEET!

Before and after


This paint is really cool and durable.  Its hard to find though and I had to resort to buying it online.   I've also discovered its a perfect  match for POR's sterling silver paint that I did the hitch in..  Great for touch ups!

No leaks again in the trailer DESPITE torrential downpours and a tornado warning.  Yep, tornado.  Turns out we didn't have an actual tornado but two streets over there was a micro burst with winds of 110 mph an hour.  Took down lots of trees and our power.   I was more concerned about the hail warning,  which never materialized.  In the middle of the tornado warning,  I'm down in the basement eyeing the leftover roll of Prodex and wondering if I could rig a temporary cover LOL!  Or throw myself over those endcaps if need be!