My compartment doors all leaked, big surprise. So I decided while I have the skins out to remove them from the trailer and clean them up.

And there was plenty of cleaning to do on the frame, I used both Citrastrip and mineral spirits (no - not at the same time!) to clean off the gunk. It took a while. That is an understatement. I used a lot of good old fashioned hand work.

I
drilled out the pop rivets on the sides of the door and revealed the interior,
thankfully minus any skeletons. There was a surprising bit of
corrosion, due to water intrusion I'm assuming. I did some fairly serious grinding with a dremel to get rid of it. I contemplated getting a glass bead blaster like
this but didn't know if it would work. Anyone use one of these?

Re-insulated with Prodex using strips of Prodex to maintain an airspace.
I just used Tremco 635 as an adhesive, my intention was to use 3m 4200 adhesive but it runs $30 a caulking tube and has to be used up within a day or so. Still planning on using it for the rest of the insulation but not worth it for this application.
Two layers of Prodex because I am an avid admirer of overkill!
Test fitting
Instead of Tremco 635 or butyl tape I decided to use Eternabond to attach the compartment frame to the airstream skin. I figured in tape form it would be cleanup friendly, and it's praised highly in other RV forums. Plus if it doesn't work out it's one of the few areas I could uninstall and install without removing the interior skins again!
Clean frame, ready to go with Eternabond already applied and holes punched with a bamboo skewer. This stuff is STICKY. I butt cut the corner seams horizontally as a vertical seam is more likely to leak.
Ready to rivet, actually I discovered I didn't have 1/8 inch rivets so I drilled them all out to 5/32 and replaced the gold clecos with the black ones. I actually test fit this before adding the Eternabond.
Did I mention this Eternabond stuff is sticky and that it never really hardens or forms a skin like Tremco?
I cut away any "squeeze out" with my plastic razor blades the remaining Eternabond would stick to itself (reminds me of the postertack that you use on your walls to hang posters without damage) so I used little balls of it to clean off the residue.
With some work I was able to get a good clean edge. I have my suspicions that it's going to catch and hold dirt, but it was leak proof in the last few down pours! We'll see - I'll report back later on how well it's doing. I intend to use it to install my fantastic fans, but in that application it will be covered by 4 inch wide aluminum Eternabond tape so "squeeze out" removal won't be an issue. I liked it well enough that I'll use it for the rest of the compartment doors.

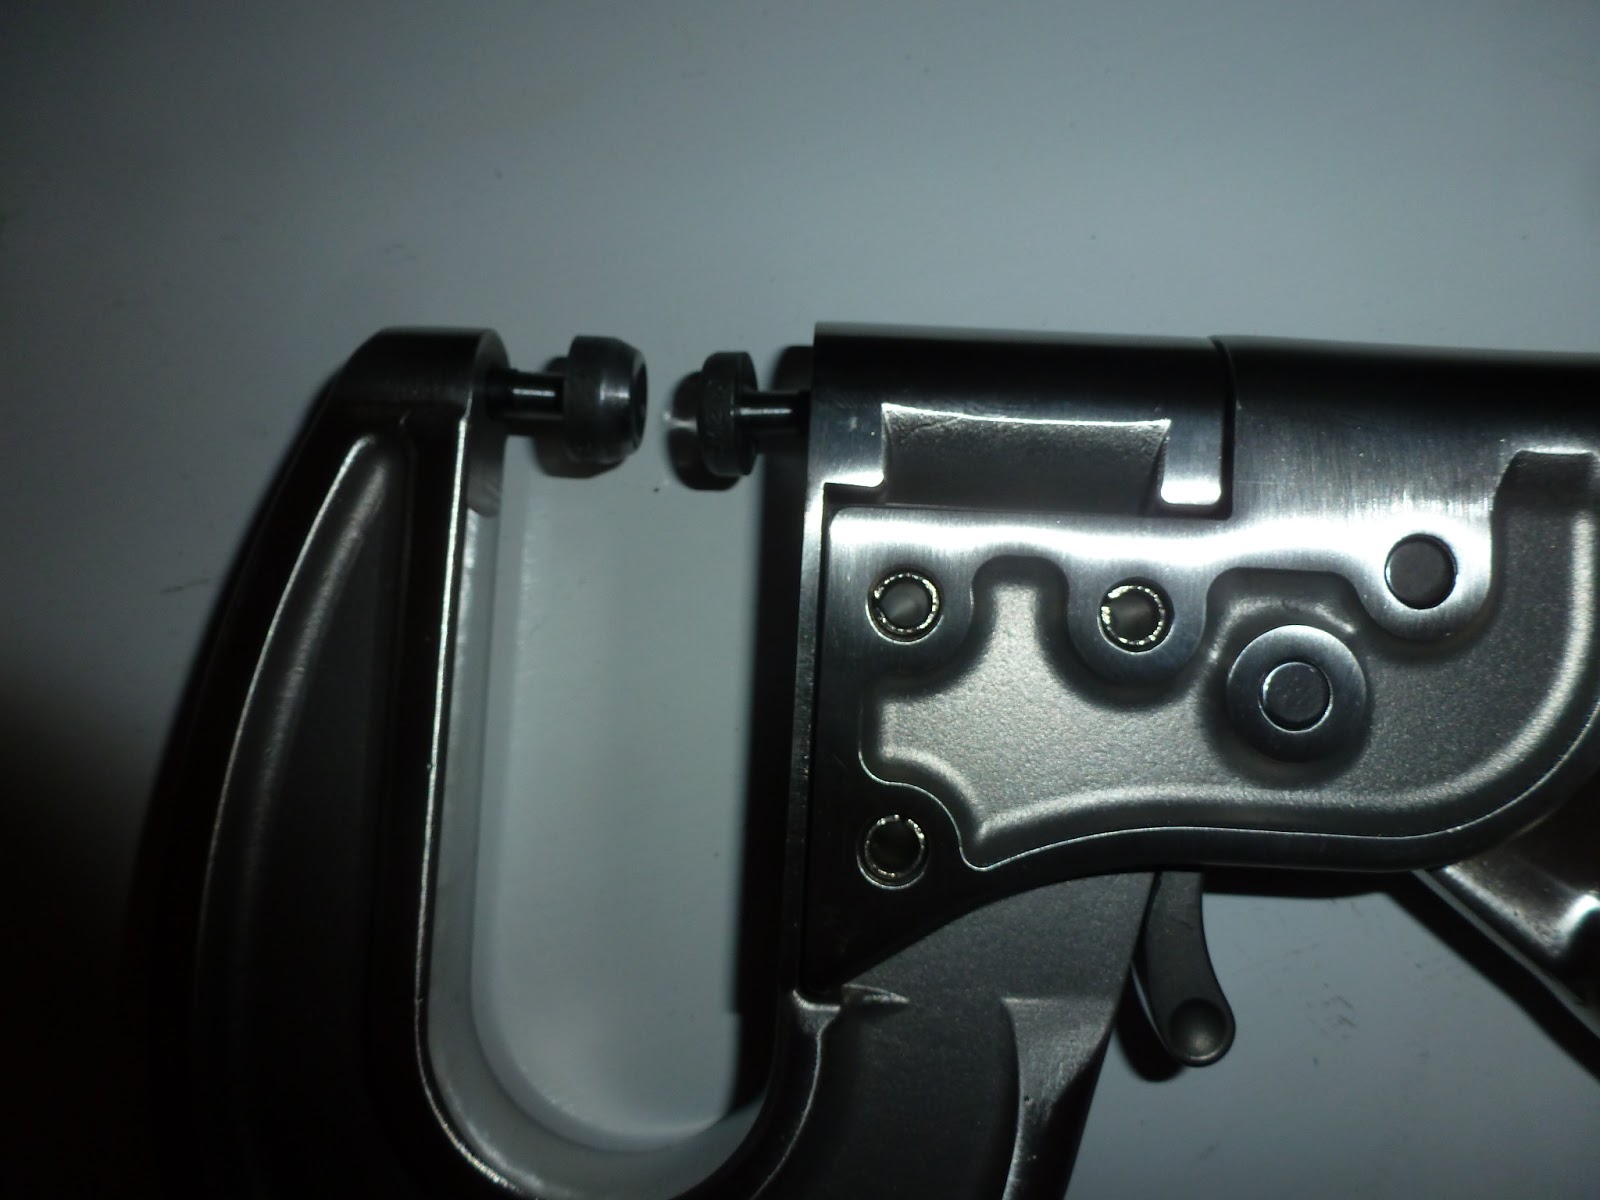
I used this
hand squeezer for buck rivets from VTS to buck rivet the compartment door in. You'll need to buy both squeezer dies
here and
here. Don't be like me and buy only one die, the shipping on the second little piece is a killer!
As usual, it comes with no instructions but I assure you the dies do fit into the holes on the "c" of the puller, it's just a tight fit! Here they are just barely pushed in. The cupped piece goes on the tip of the "c" while the flush piece goes closest to the handle. Put a piece of blue tape on the cupped end, it won't slip off the head as easily and won't transfer any marks on the die to the pulled rivet. You'll have to replace the tape frequently.
The pull can be adjusted by turning the bottom piece (that the flush die sits into) like a screw. This makes all your pulls the same. When my squeezer came that piece was really stuck, I had to clamp the squeezer into a vise, lubricate it and use pliers to get it moving. Some instructions would have really helped, especially since I didn't realize it was adjustable... I thought you just pulled it until you were happy with the tail....thank god for youtube.
Anyway, with a little help from my daughter I got the compartment frame buck riveted on. It was a little tricky because the aluminum extrusion got in the way of the rivets expanding but it seems to be on firmly, definitely was a two person job. She put the squeezer die on the head and held it there while I squeezed. It was also tricky to get into position, tight fit. Once you have it on you leave the squeezer in place and just slide it over to the next rivet. Hope that makes sense, it will once you realize how hard it is to get the squeezer into a position where it can squeeze. That's gonna take the cake for the most incomprehensible sentence I've written since I started this blog!
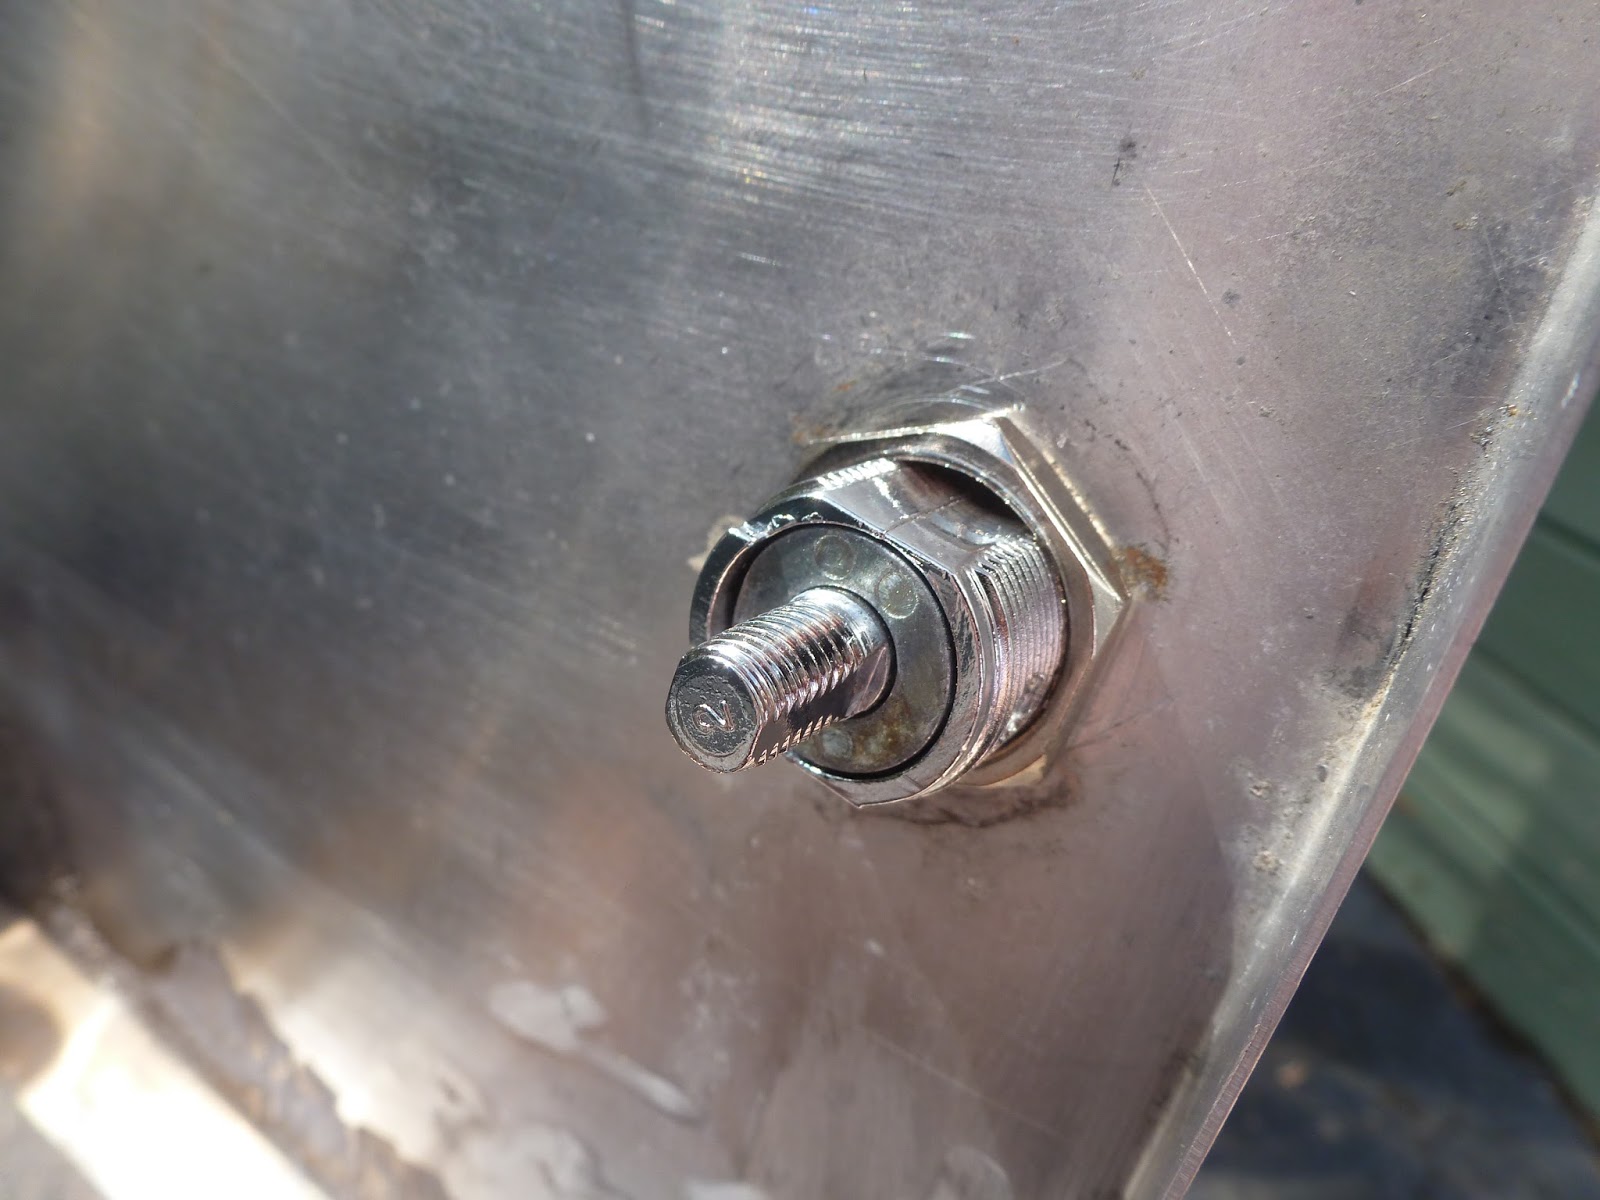
One last little note, the rivets that hold the door hinge on are something different. They are tubular rivets DF11-*-ST rivets I did manage to track down a replacement, for anyone who is a purist you can find them at
Hanson Rivet and Supply Company. The"*" is the length in 32nds I just ended up replacing them with pop rivets because I didn't want to buy another set of dies for the rivet squeezer.
Incidentally, these rivets make a good replacement for the tubular steel rivets on the arms of the jalousie windows. If I ever do pull that window apart, (which f you know me you know I will!) I probably will use them there. The steel ones are an rusty eyesore (even if you hit them with aluminum paint like the PO did, Lol).
The one on the bottom right is the tubular rivet, I wish I had thought to take a picture of the other side. The post is hollow and the die rolls back the edges. I'll add a picture when I pull the next compartment.
Here's the final picture, note the lock because that's my next post! I still have the final polishing to be done and the aluminum gutter..... baby steps, people.