Drapes!
And that's where the "here be dragons" reference comes in! These drapes kicked my sorry self back to high school! Let me preface this by saying I consider myself an accomplished seamstress. I've made wedding dresses, prom dresses, I've made dresses where my daughter has handed me a picture of an actress wearing a dress and asked me to copy it. I can smock, embroider.. you name it, sewing doesn't scare me, I've even done a houseful of drapes. ..... BUT I've never done a pleated drape, and trust me.... There be dragons.
My criteria for choosing a style of drape was as follows.
Pleats not gathers,
I wanted a clean, stream-lined look
Modern, not old fashioned (that ruled out your typical single and triple pleated drapes)
NO rings, as minimal a curtain rod as I could find.
And absolutely NO curtain tracks which I find truly hideous.
What I settled on was an inverse pleat like this:

I think I googled every curtain rod on the planet, I wanted to use a low profile wire system but very few of these exist, and they get lousy reviews about the ability to hold a heavy curtain without sagging.
After testing several alternatives I settled on these.

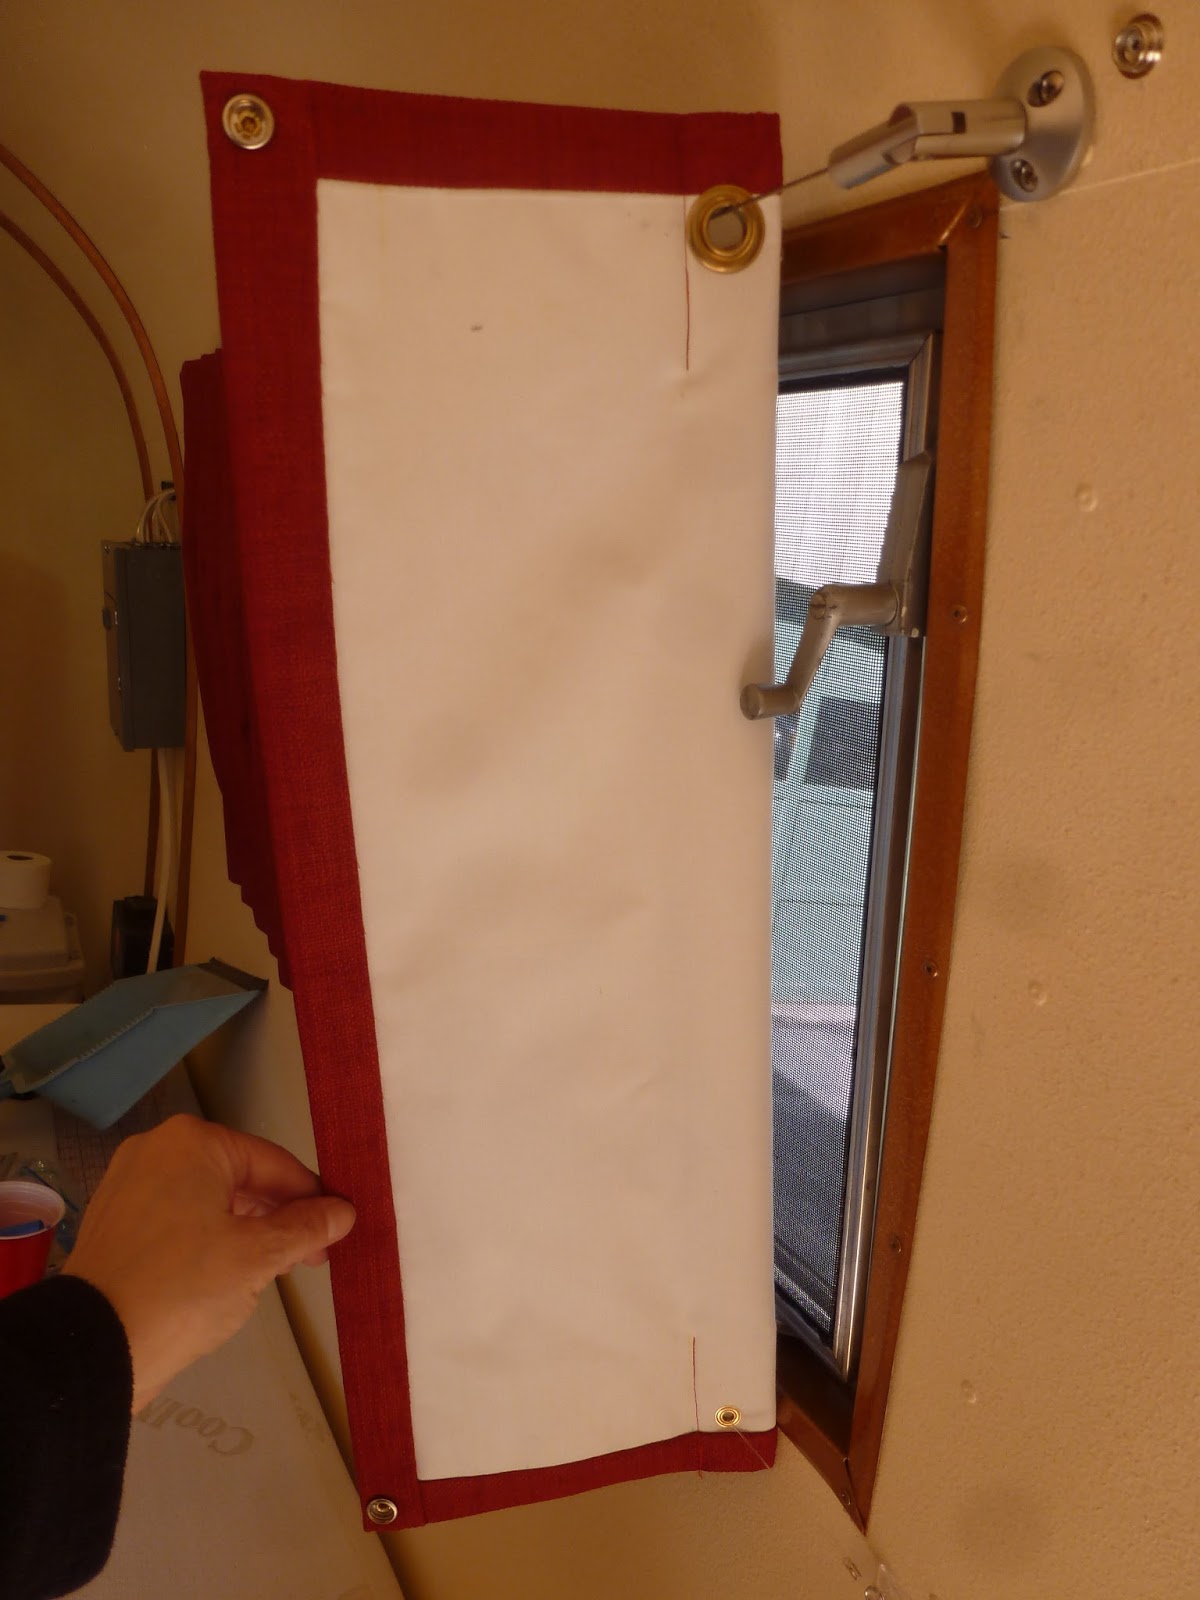
I'm not going into the minutiae of my thought process( you really don't want to get into my mind like that, trust me !) but in order to get these drapes to work I had to figure out how to hang them without using curtain rings. In a typical pleat, the fabric is in front of the rod, in inverse pleats it's behind, so to make the drapes stay close to the wall I installed metal grommets in each pleat.
I used grommets with 1/2 inch holes on top, 1/4 inch holes on the bottom. The top ones needed to be larger in order to slip over the tensioner so the curtain can be pushed all the way to the sides.
I'd like to say at this point that I will forever associate these drapes with the 2016 presidential debates..... Also any mistakes I made are wholly attributed to me yelling at the TV when I should have been paying better attention to what I was doing!!
How the heck did I get this far without showing you the fabric!
Here it is.... It's Richloom Rave indoor/outdoor fabric in cherry. It's a nice weight with a linen like weave.
https://www.fabric.com/buy/un-817/richloom-solarium-outdoor-rave-cherry

I ordered 15 yards and used every bit of it! This fabric that was already pre-lined, but not light blocking, so I added blackout lining.
Here's one big drape that I was starting to mark the pleats on.


Here's a picture of the curtain grommets on the wire curtain rod.


The last step was to "train" the drapes with strips of paper. I stacked them all to one side to do this but the drapes actually open in the middle, and stack back on both sides.

I also made these duffel bags that get hung under the bed from safety cup hooks. The idea is to be able to pack them in the house and just bring out to Moonraker and clip them in. LOTS of storage space, and they'll double as laundry bags. They actually were kinda fun to do after the drapes! They are lined in vinyl and the bottom is vinyl too. Aqua of course!


Oh, and we ordered two leather recliners for the front of Moonraker . We may not have running water or a stove, but between the beds and the recliners we will be comfy!!